We Have All Done It
Who out there has accidentally switched their camera into bracketing mode?
This is a hiccup we’ve seen happen more times than we’d like, and it can lead to some major headaches. A job can be going along smoothly, exposures are perfect, when out of nowhere—boom—bracketing mode was turned on, causing a photographer’s exposures to shift from frame-to-frame. Dun, dun, dun! While it’s something most of us have run into while shooting, it’s definitely not an ideal situation.
Luckily, our color technicians are very skilled at spotting this issue and smoothing out inconsistencies in exposures. But even with all their #skills, you might still be able to catch some slight differences in your final images.
What is bracketing mode, exactly?
Bracketing mode is designed to take 3 shots back-to-back of the same scene at different exposures, varying in increments from ⅓ stop to 3 stops, depending on your camera. This can be handy when you are unsure what the proper exposure is for a given scene. For these circumstances, bracketing mode acts as a safety net and can be handy. But when bracketing mode is accidentally turned on, it can be a nuisance.
How It works:
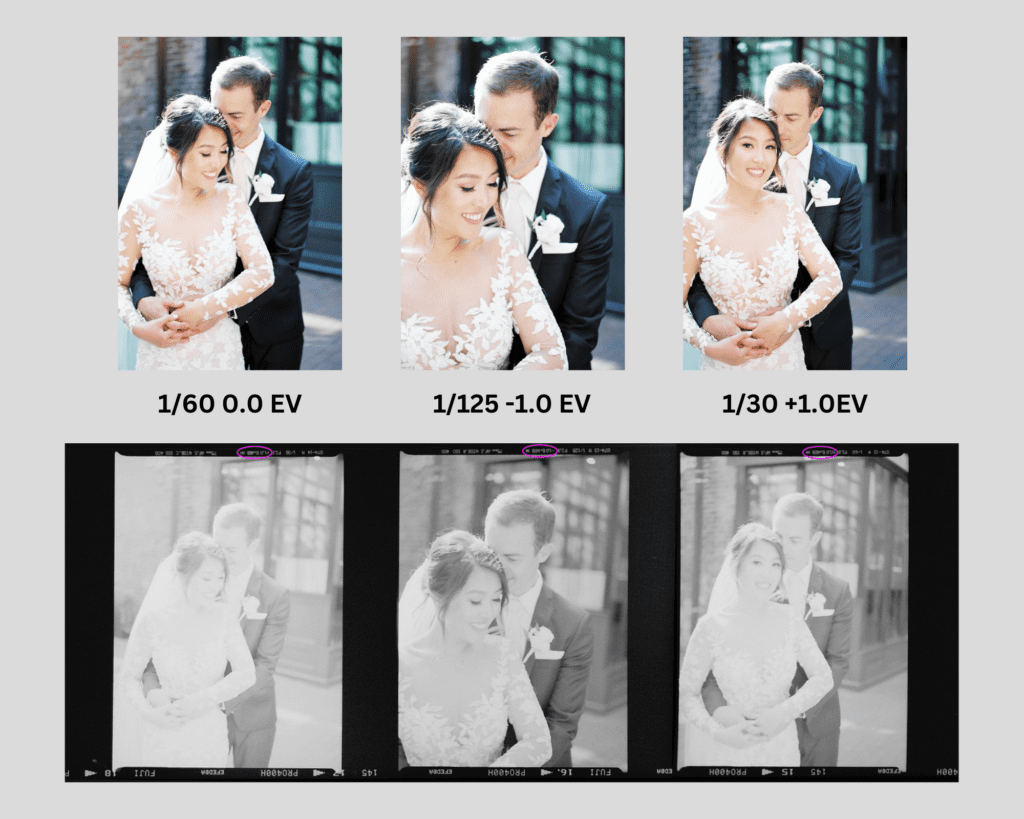
- The first exposure will be made at the shutter speed you set (N).
- The second exposure will be made at a decreased Exposure Value (-N).
- The third exposure will be made at an increased Exposure Value (+N).
Check out this example, shot by Christine Pienaar:

Notice how Christine’s Exposure Reference Sheet shows slight shifts in density from frame-to-frame? This represents shifts in exposure. When exposures shift in a repeating pattern, like they do here, it is a clue to us that bracketing mode was turned on.
Check the Exposure Data
We can also verify bracketing mode is on by checking the exposure data. Most camera’s have data printed onto your film that we then convert into reference sheets for your convenience and information. Knowing how you shot will tell you all kinds of things, whether you want to replicate settings or find the culprit to an issue you’re seeing in your film scans.
Below you can see Christine’s roll shows that bracketing mode was, indeed, turn on.
This data tells us that not only is bracketing mode is on, but it also tells us the bracketing is set to 1 stop increments. Our Exposure Reference Sheets allow you to identify this as soon as you see your scans, so it can be turned off prior to your next shoot. And don’t worry, we’ll be sure to notify you via email or phone when we see it, too! We know those small numbers aren’t always jumping out at you so will send you a note to ensure you’re aware of it. We have your back!
*Keep in mind: if you change your shutter at any point while in this mode, the pattern in exposures will NOT be consistent.
What will the scans look like?
These scans are from Christine’s roll above. Notice how despite the shifts in exposure, our expert color technicians were able to create consistent scans. Consistency is, in part, dependent on the bracketing amount.
1/60 (Metered Exposure)
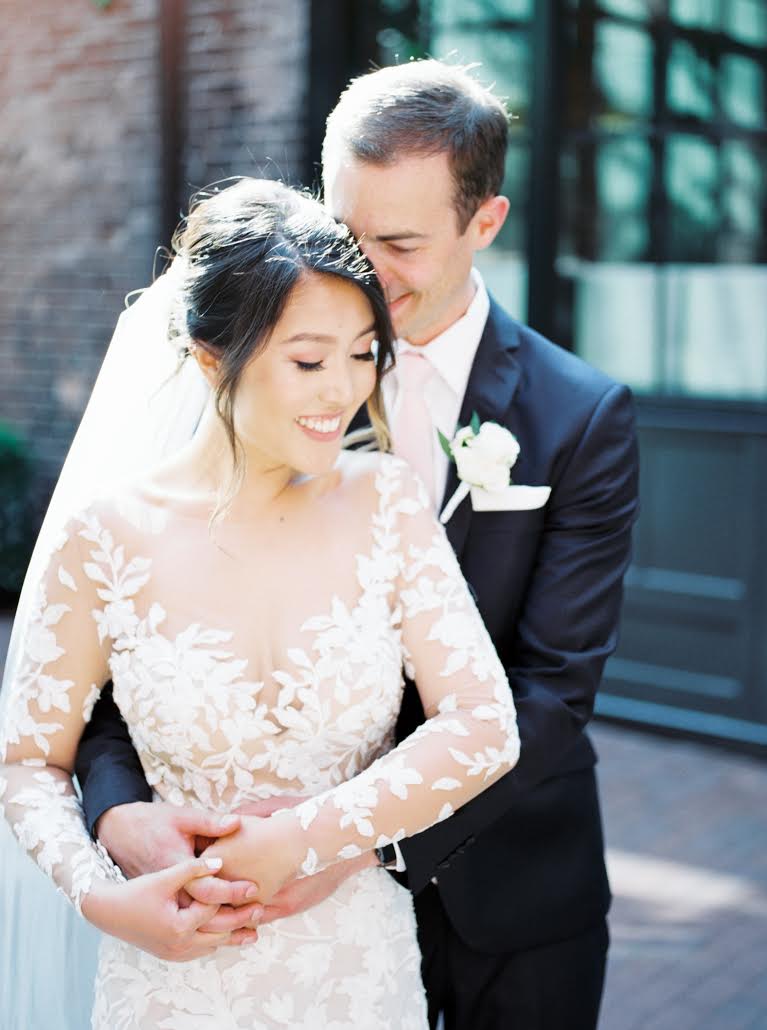
1/125 (-1 stop under the metered exposure)
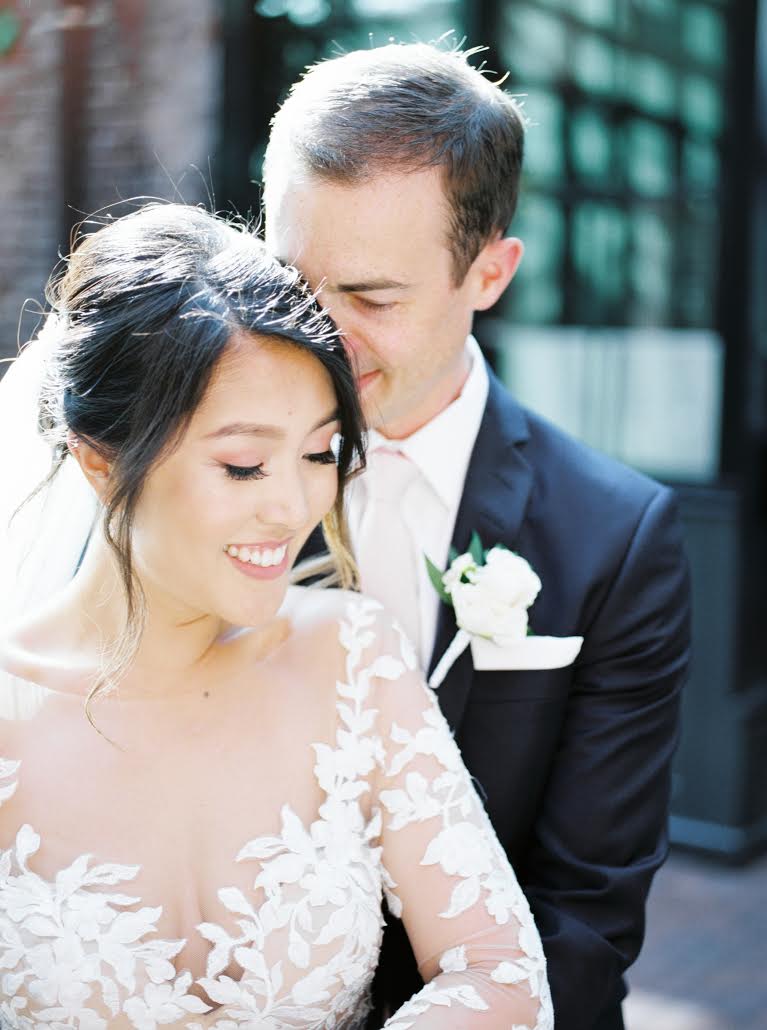
1/30 (+1 stop over the metered exposure)
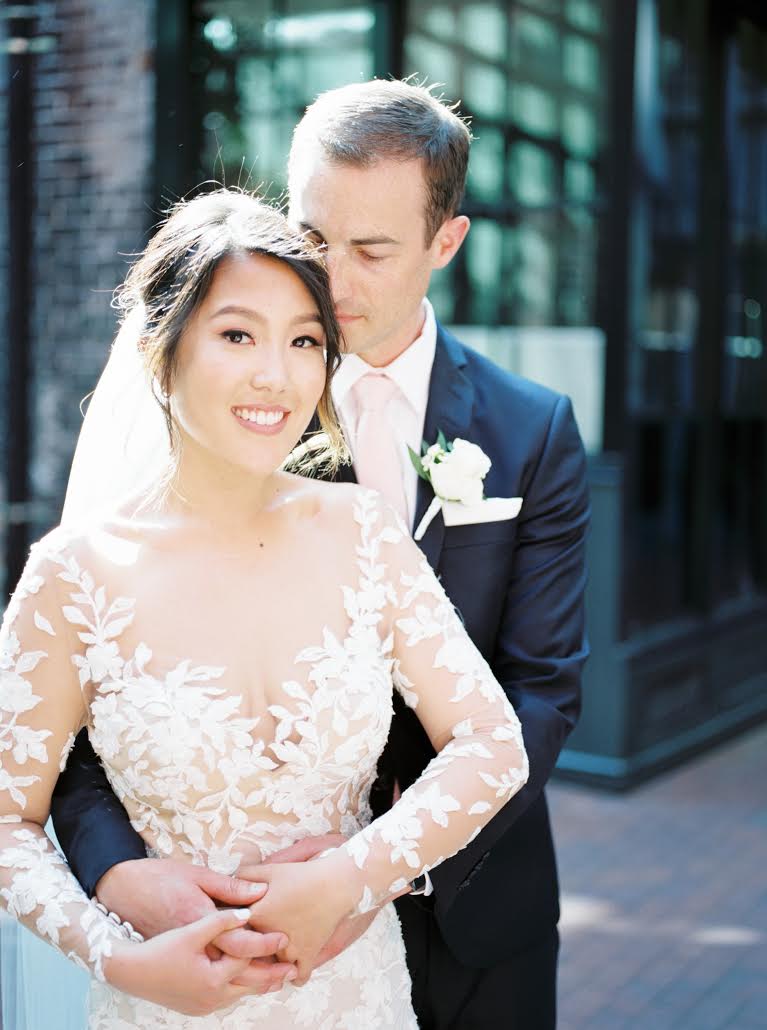
Christine Pienaar / Fuji400H / @steshaho / @labattoir_van / @mua.vancouver
Do you know how to toggle your camera’s bracketing mode?
Consult your camera manual and learn how to turn it on/off before you next shoot, just in case! It’s usually a small button that can be easily accessed so be sure to make sure you know where it is and how sensitive it is to being activated.
Do you check your camera modes before shooting? Why or why not?
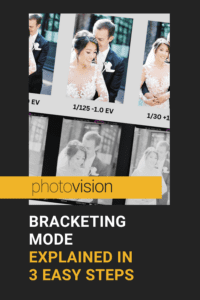
PIN THIS FOR FUTURE REFERENCE